DIY, GREEN GARDENING
MAKE YOUR OWN RECYCLED PALLET PLANTER BOX
Planter boxes are a great way to exercise your green thumb in a small space. Local maker Jack Lewis from @_jack_makes takes us through a step-by-step guide on how to create a low cost planter box made from just one recycled pallet.
Raised planter boxes are an easy and affordable way to create an impermanent yet unique and attractive garden solution for your home. I’ve put together a step-by-step guide for you to build your own raised timber planter box using affordable and recycled materials. This design is a great upcycled garden project, that can help you reduce waste by:
- Recycling materials destined for landfill – for this one I used a timber pallet and some empty potting mix bags as a lining.
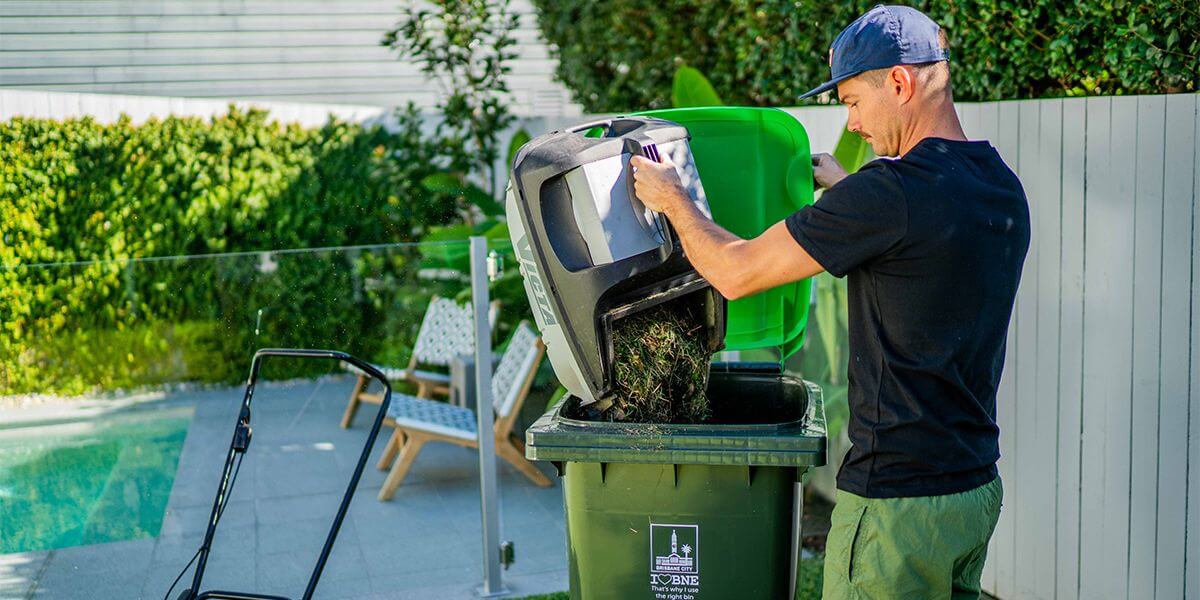
- Creating a place to use your compost material.
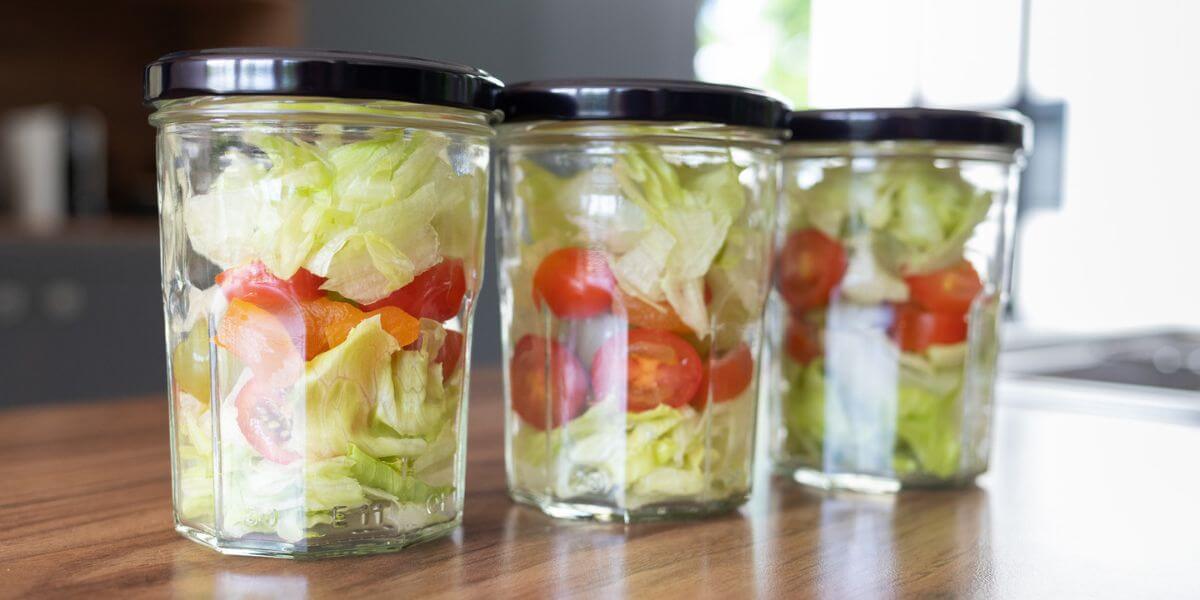
- Reducing plastic grocery waste by growing your own herbs (this is more cost effective too!).
One of the major functional benefits of this particular design is that it’s easily transportable, and can be placed in a garden, patio, deck or balcony. This makes it especially suitable for those in rentals who need a mobile, space-saving solution that won’t leave a lasting footprint on the property.
You also have more control over soil conditions, and will have fewer problems with weeds and pests. As the soil in raised beds tends to be quite a bit warmer than the earth, this allows you to plant your seeds or transplants earlier than usual.
SOURCING YOUR PALLET
Facebook Marketplace is a great way to find a used timber pallet, often for free. Otherwise try asking your local Bunnings or similar businesses for a spare. Avoid plywood or artificial timber pallets, instead opt for either a hardwood or softwood pallet (softwood will be easier to cut, especially if you plan to use a hand saw).
MATERIALS
- Timber pallet
- Plastic lining
- Soil
- Drainage material
- Plants
TOOLS
- Hand saw or powered saw (a jigsaw is ideal)
- Drill and screws or a nail gun
- Pencil, tape measure and marking square
- Hammer
- Nail puller or pinch bar
- Knife
- Staple gun (optional)
- Corner clamp (optional)
- Paint and primer (optional)
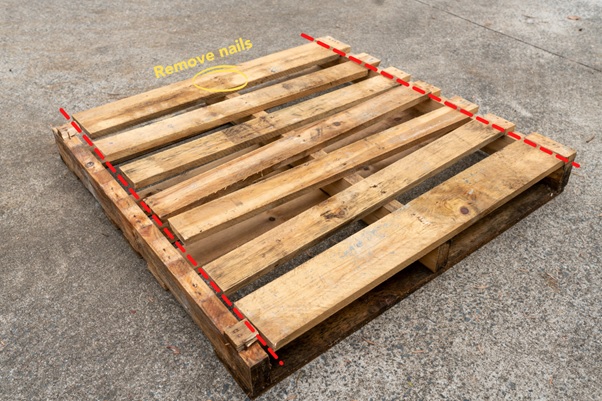
STEP 1: BREAK DOWN THE TIMBER PALLET
Cut along the inside edge of the pallet on both sides with your saw until the thicker upright pieces have been separated from the slats (see image below for reference).
Remove the remaining nails holding the horizontal slats to the middle upright slat using a hammer and nail puller (note – this is the trickiest part and will take some elbow grease).
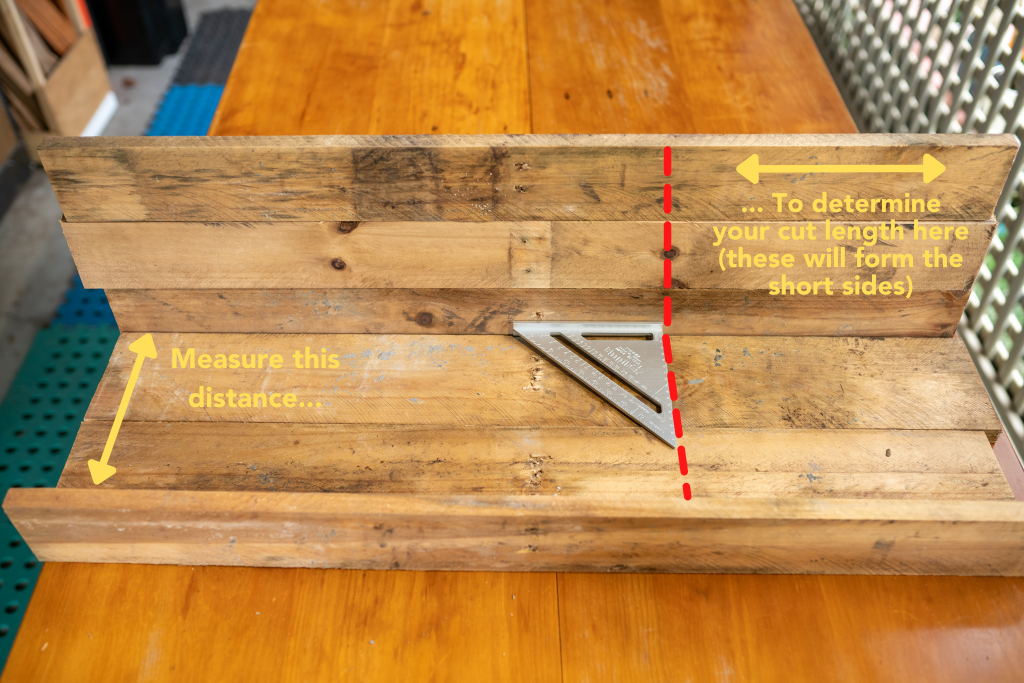
STEP 2: DESIGN
To make the most out of the material, I usually lay out the timber using the two widest pieces of the pallet for the base and three of the thinner pieces to form each side (keeping in mind that you will need a gap of 1-2 cm at the bottom of your planter box for drainage).
You can now measure the ‘end’ pieces to cap the sides of your planter box and the remaining length will determine how long the box will be.
The thicker pieces of the pallet make great legs so long as the nails are removed.
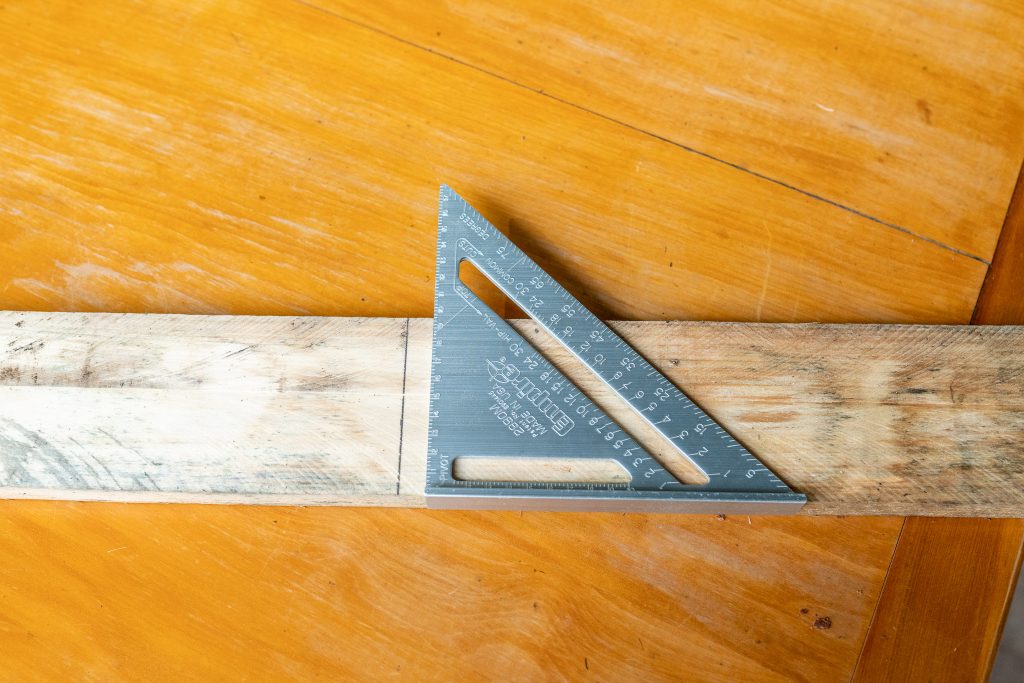
STEP 3: MARK AND CUT THE TIMBER
It’s best to mark each piece using a tape measure and a square and then cut the pieces with the saw of your choice.
STEP 4: CONSTRUCTION
Start by positioning a side and front piece at a right angle to each other. A clamp may help you keep the piece’s steady while you screw/nail them together (remember to pre-drill the holes if using screws). Set aside and repeat. Join the two L-shaped pieces together to form a rectangle frame.
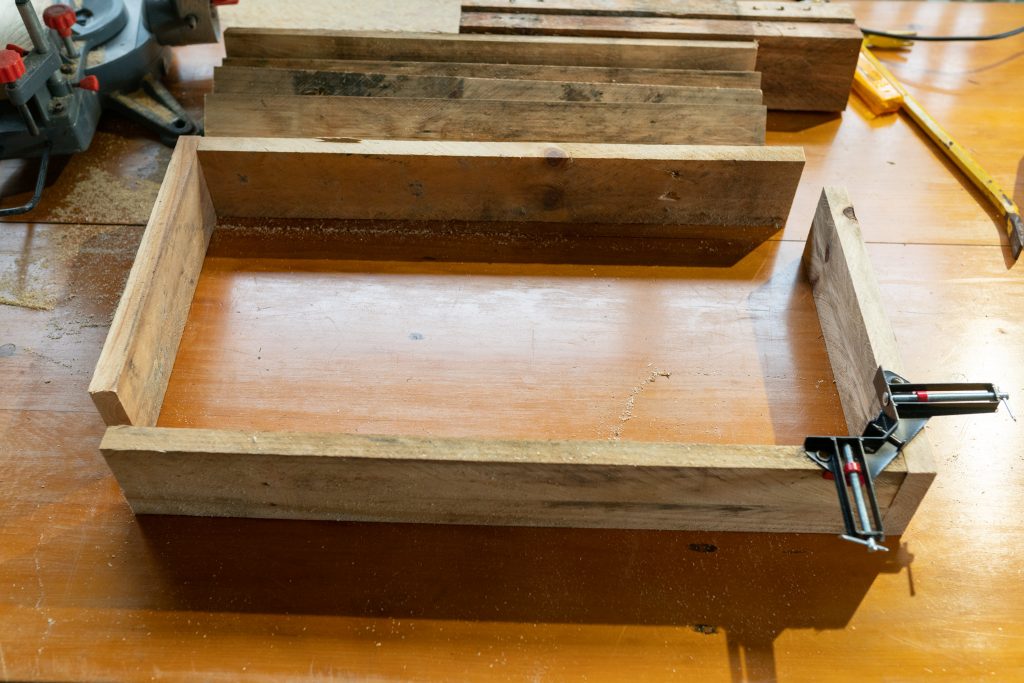
Cut four equal-length pieces to use as legs and one smaller piece to use as a spacer block. Position the spacer block in one corner of your frame, then place a leg on top of it and screw or nail the piece to the frame (from the outside pointing in and on both sides). Repeat this process for the three remaining legs. From here you can continue to add more individual pieces on top fastening to the legs first and then to the adjacent piece until you have a completed box.

STEP 5: ADDING THE BASE
By holding the base piece against the legs, you can mark the shape that needs to be cut out to fit it into place. I like to add some support pieces at the bottom to ensure the weight of the soil won’t collapse the base (see image below on the right).

STEP 6: INSTALLING THE PLASTIC LINING
For the lining of this planter box I used a couple of empty potting mix bags attached with a staple gun (or you can use a nail and hammer), but any non-permeable material should work just fine. The lining and some decent drainage material like river sand will help prolong the life of your timber and reduce the chance of rot.

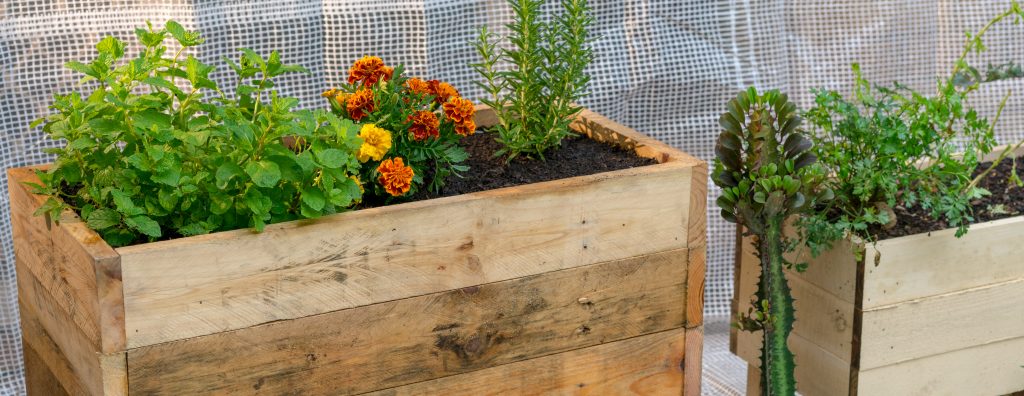
STEP 7: READY TO PLANT!
Congratulations, you’ve reached the fun part – planting! For my planter box, I chose rosemary, mint and marigold, but feel free to get creative and choose the plants or edibles that best suit your garden and climate.
About the author
Jack Lewis is a Brisbane based maker with a custom furniture business called Jack Makes. He enjoys making unique timber designs for his customers with a focus on using sustainable materials. Jack shares his projects over on his Instagram @_jack_makes
The author

Jack Makes
Jack Lewis is a Brisbane based maker with a custom furniture business called Jack Makes. He enjoys making unique timber designs for his customers with a focus on using sustainable materials. Jack shares his projects over on his Instagram @_jack_makes
Explore our other articles


7 ways to recycle even more


A beginner’s guide to companion planting


Striking the balance to minimise your car use
Three ways to make sure green waste isn’t wasted


Money-saving powerhacks: clothes washing and drying edition

5 sneaky leaks that could be costing you
A cost-saving, sustainable living guide to 2024